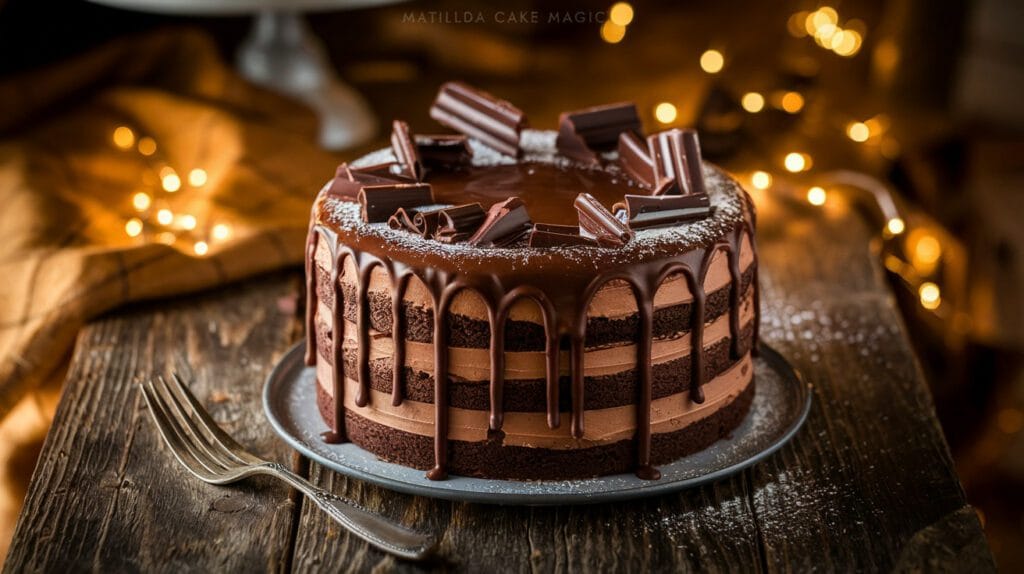
Have you ever dreamed of recreating the magical chocolate cake from Roald Dahl’s beloved story, Matilda? 🍫🎂 I know I have! That decadent, mouthwatering confection has haunted my dreams since childhood. Well, fellow dessert enthusiasts, it’s time to turn that dream into a delicious reality!
Imagine sinking your fork into a slice of the most indulgent chocolate cake you’ve ever tasted. The kind that makes your taste buds dance with joy and transports you straight into the pages of your favorite book. That’s exactly what we’re going to achieve today! I’ve spent countless hours in the kitchen, experimenting with recipes and techniques to bring you the ultimate guide to creating your very own Matilda-inspired chocolate delight.
In this blog post, I’ll take you on a sweet journey through the enchanting world of Matilda’s chocolate cake. We’ll explore the magic behind this iconic dessert, perfect the cake base, craft an irresistible frosting, and assemble a masterpiece worthy of Bruce Bogtrotter himself. So, grab your apron and let’s dive into the delectable world of Matilda Cake Magic!
The Magic of Matilda’s Chocolate Cake
A. Iconic status in pop culture
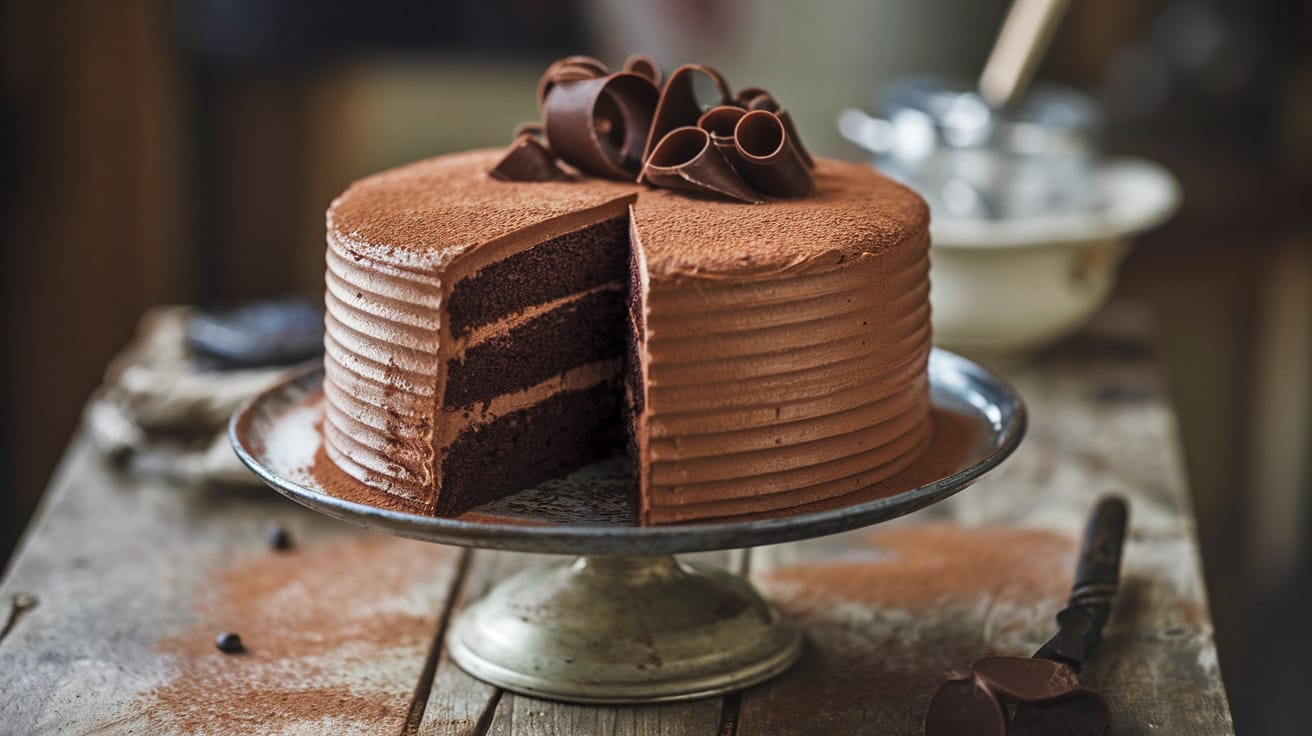
As a longtime fan of Roald Dahl’s works, I can’t help but get excited when talking about the legendary chocolate cake from Matilda. This decadent dessert has become an iconic symbol in pop culture, transcending its literary origins to capture the imaginations of dessert lovers worldwide.
The cake’s popularity has skyrocketed since the 1996 film adaptation, where Bruce Bogtrotter’s epic cake-eating challenge left audiences drooling. I’ve seen countless recreations on social media, cooking shows, and even in high-end bakeries. It’s not just a cake; it’s a cultural phenomenon that represents indulgence, rebellion, and the sweet taste of victory.
B. Key ingredients for authenticity
To create an authentic Matilda-inspired chocolate cake, I’ve found that certain ingredients are non-negotiable:
- Dutch-processed cocoa powder
- Vegetable oil (for moisture)
- Buttermilk (for tenderness)
- Strong, hot coffee (to enhance chocolate flavor)
Here’s a quick comparison of regular cocoa powder vs. Dutch-processed:
| Aspect | Regular Cocoa Powder | Dutch-Processed Cocoa Powder |
|---|---|---|
| Acidity | Higher | Lower |
| Color | Lighter brown | Darker brown |
| Flavor | More bitter | Smoother, less bitter |
| Best for | Recipes with baking soda | Recipes with baking powder |
C. Emotional appeal of the dessert
I believe the emotional appeal of this chocolate cake goes beyond its delicious taste. It embodies:
- Nostalgia: Reminding us of childhood memories and the joy of reading Matilda
- Empowerment: Symbolizing Bruce’s triumph over Miss Trunchbull
- Comfort: Offering a sense of indulgence and self-care
- Connection: Bringing people together through shared experiences
Now that we’ve explored the magic behind Matilda’s chocolate cake, let’s dive into the specifics of perfecting the cake base.
Perfecting the Cake Base
A. Selecting the right chocolate
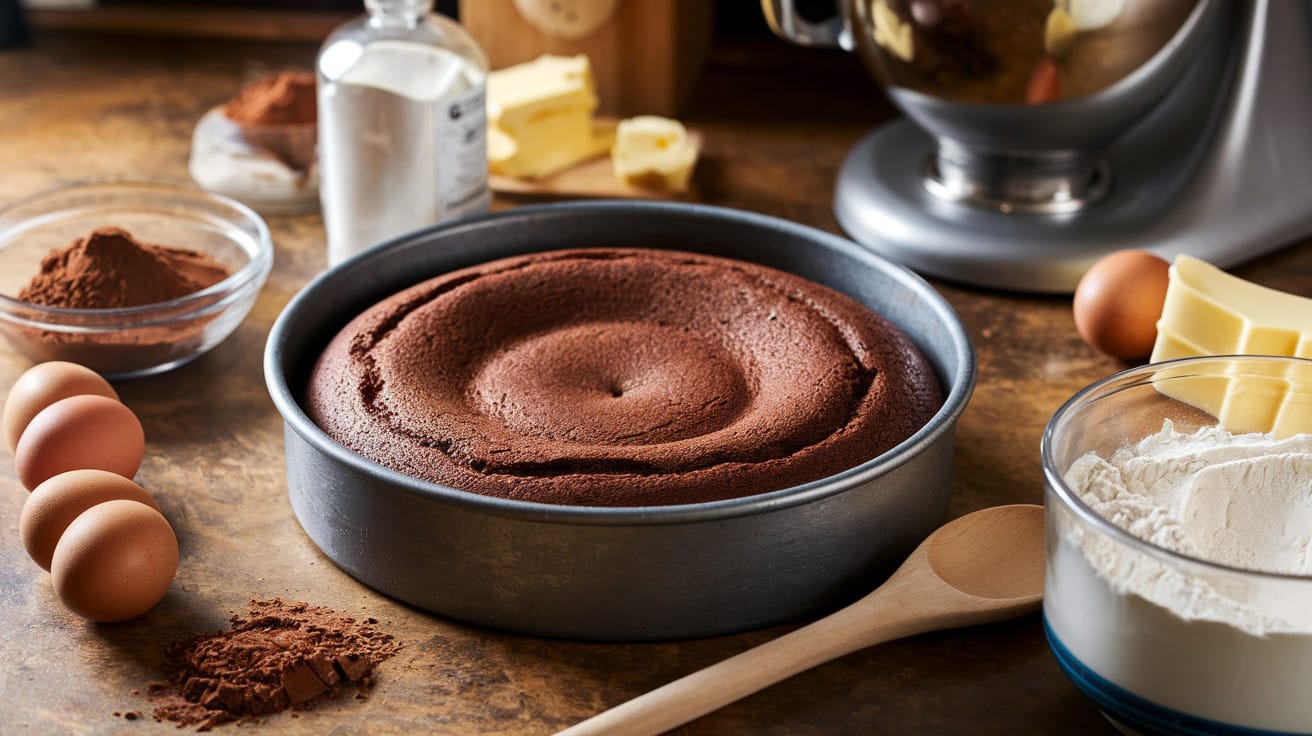
When it comes to creating the ultimate Matilda-inspired chocolate cake, I can’t stress enough how crucial it is to choose the right chocolate. I always opt for high-quality dark chocolate with at least 70% cocoa content. This ensures a rich, intense flavor that’ll make Bruce Bogtrotter proud.
| Chocolate Type | Cocoa Content | Flavor Profile |
|---|---|---|
| Dark Chocolate | 70-85% | Intense, slightly bitter |
| Semi-sweet | 60-70% | Balanced sweetness |
| Milk Chocolate | 30-50% | Creamy, sweeter |
B. Balancing wet and dry ingredients
To achieve that perfect moist texture, I’ve found that balancing wet and dry ingredients is key. Here’s my foolproof ratio:
- 2 parts all-purpose flour
- 1 part dutch processed cocoa powder
- 1.5 parts granulated sugar
- 1 part vegetable oil
- 1 part buttermilk
C. Achieving the ideal texture
For that heavenly, melt-in-your-mouth texture, I swear by these techniques:
- Sift dry ingredients to remove lumps
- Use room temperature eggs for better incorporation
- Don’t overmix the batter – stop when just combined
- Tap filled cake pans on the counter to remove air bubbles
D. Enhancing flavor with secret add-ins
To elevate the flavor profile, I like to incorporate these secret ingredients:
- A splash of strong brewed coffee
- A pinch of salt to enhance sweetness
- A teaspoon of vanilla extract for depth
- A tablespoon of mayonnaise for extra moisture
Now that we’ve mastered the cake base, let’s move on to crafting that irresistible frosting that’ll make your Matilda cake truly magical.
Crafting the Irresistible Frosting
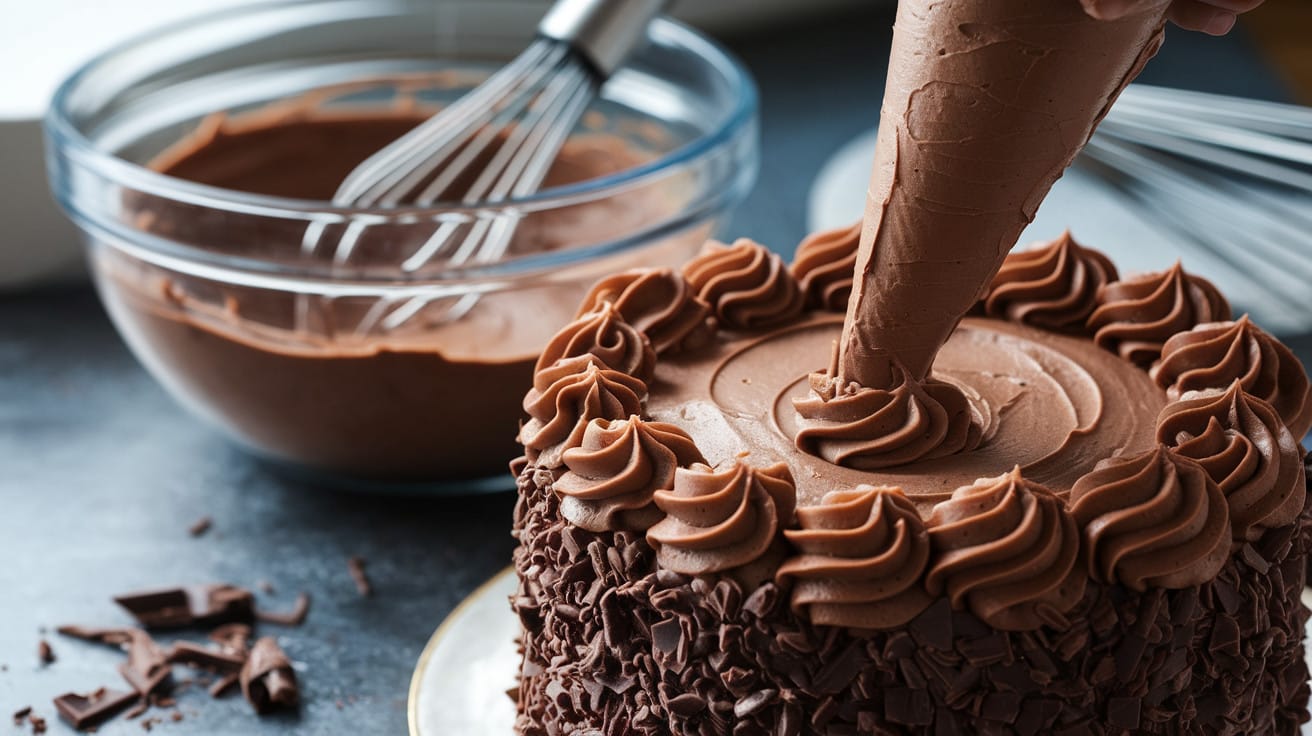
Choosing between ganache and buttercream
When it comes to frosting my Matilda-inspired chocolate cake, I’m often torn between two delectable options: ganache and buttercream. Both have their merits, and I’ve found that the choice depends on the final look and texture I’m aiming for.
| Frosting Type | Texture | Flavor | Best For |
|---|---|---|---|
| Ganache | Smooth, glossy | Rich, intense | Drip cakes, elegant finishes |
| Buttercream | Fluffy, creamy | Sweet, versatile | Piping, layer cakes |
I usually opt for ganache when I want that decadent, glossy finish that Bruce Bogtrotter would drool over. It’s perfect for creating dramatic drips or a mirror-like surface. However, when I’m in the mood for something lighter and more versatile for decorating, I go for buttercream.
Incorporating Bruce Bogtrotter’s favorite flavors
To truly capture the essence of Matilda’s chocolate cake, I love incorporating Bruce Bogtrotter’s favorite flavors into my frosting. Here’s how I enhance the chocolate base:
- Add a splash of coffee to intensify the chocolate flavor
- Mix in a hint of vanilla extract for depth
- Incorporate a pinch of salt to balance the sweetness
Achieving the perfect consistency
Getting the right consistency is crucial for a frosting that’s easy to work with and delightful to eat. I follow these steps:
- Start with room temperature ingredients
- Gradually add powdered sugar to control thickness
- Use heavy cream or milk to thin if needed
- Beat until smooth and creamy
Now that the frosting is ready, I can’t wait to assemble this chocolate masterpiece!
Assembling Your Matilda-Inspired Masterpiece
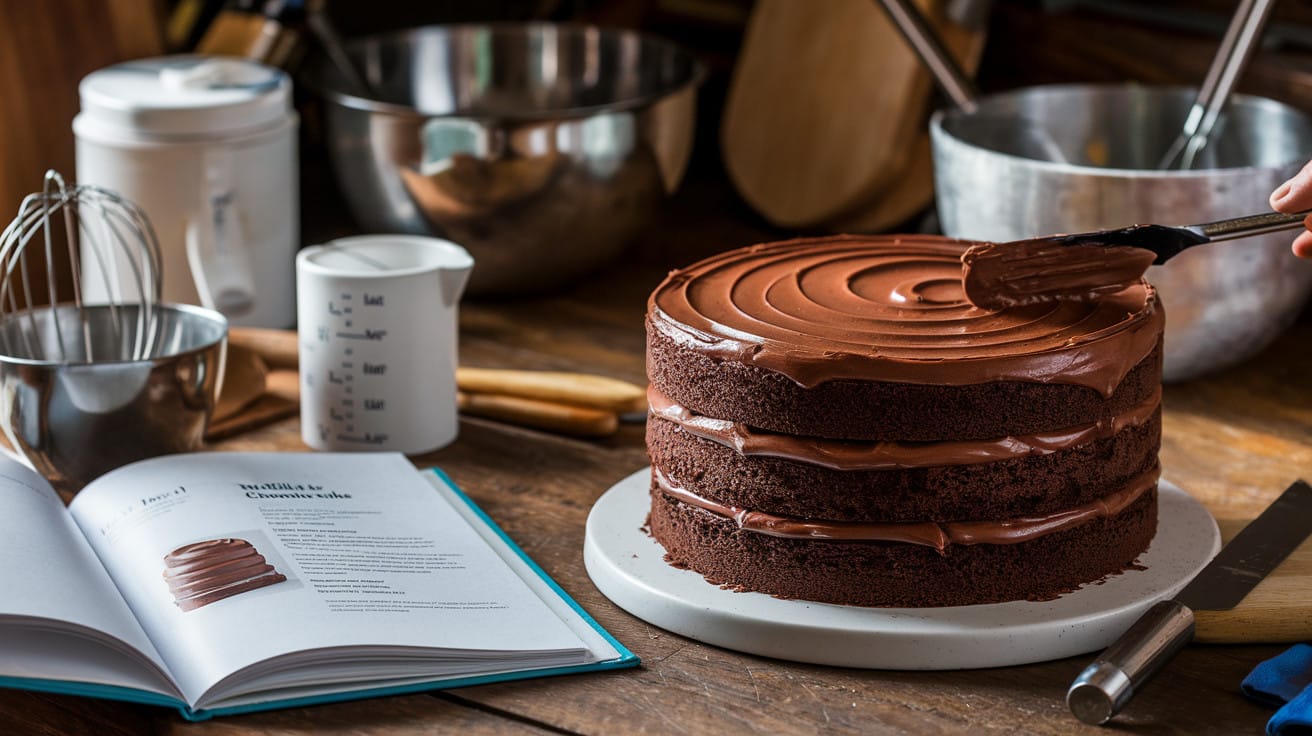
Layering techniques for maximum impact
I’ve found that the key to creating a show-stopping Matilda-inspired chocolate cake lies in the layering. To achieve that jaw-dropping effect, I start by leveling each cake layer using a serrated knife. This ensures even layers and prevents the cake from toppling over.
Next, I place the first layer on a cake board and generously spread a thick layer of frosting. I repeat this process for each subsequent layer, making sure to align them perfectly. To add stability, I insert three to four wooden dowels through the layers.
Here’s a quick guide to my layering technique:
- Level each cake layer
- Place bottom layer on cake board
- Add frosting and spread evenly
- Stack next layer and repeat
- Insert wooden dowels for stability
| Layer | Frosting Thickness |
|---|---|
| Bottom | 1/2 inch |
| Middle | 3/4 inch |
| Top | 1 inch |
Decorating tips for that movie-magic look
To capture the essence of Matilda’s iconic chocolate cake, I focus on creating a smooth, glossy exterior. I start by applying a crumb coat – a thin layer of frosting to seal in any loose crumbs. After chilling the cake, I add the final layer of frosting, using a bench scraper to achieve a flawless finish.
For that extra touch of decadence, I like to create chocolate drips along the sides of the cake. I melt dark chocolate with a bit of heavy cream to achieve the perfect consistency, then carefully pour it around the edge of the cake, allowing it to drip naturally.
Adding creative touches inspired by the story
To truly bring the Matilda magic to life, I incorporate elements from the story into my cake design. I often use fondant to create small, edible books or chocolate truffles shaped like the infamous newt that Miss Trunchbull force-fed Bruce Bogtrotter.
For a final flourish, I dust the top of the cake with cocoa powder and use a stencil to create the word “Matilda” or a silhouette of the character. These small details make the cake not just a dessert, but a tribute to Roald Dahl’s beloved story.
Now that we’ve assembled our Matilda-inspired masterpiece, let’s move on to the best part – serving and enjoying this chocolate delight.
Serving and Enjoying Your Chocolate Delight

Ideal temperature for serving
As a chocolate cake enthusiast, I’ve found that the perfect temperature for serving Matilda’s chocolate delight is slightly cooler than room temperature. I recommend taking the cake out of the refrigerator about 30 minutes before serving. This allows the frosting to soften slightly, enhancing its creamy texture while keeping the cake’s structure intact.
Pairing suggestions for ultimate indulgence
To elevate your Matilda cake experience, I’ve compiled a list of delicious pairings:
- Vanilla bean ice cream
- Fresh berries (strawberries, raspberries, or blackberries)
- Whipped cream
- A glass of cold milk
- Hot coffee or espresso
For an extra decadent touch, I sometimes drizzle warm chocolate sauce over each slice just before serving. The combination of temperatures and textures is simply divine!
Storage tips to maintain freshness
Properly storing your Matilda cake is crucial to maintain its moist texture and rich flavor. Here’s a handy table I’ve created to guide you:
| Storage Method | Duration | Tips |
|---|---|---|
| Room Temperature | 1-2 days | Cover with a cake dome or plastic wrap |
| Refrigerator | Up to 1 week | Wrap tightly in plastic wrap or store in an airtight container |
| Freezer | Up to 3 months | Wrap individual slices in plastic wrap and aluminum foil |
When refrigerating, I always bring the cake to room temperature before serving to ensure the best taste and texture. For frozen slices, I thaw them in the refrigerator overnight before enjoying.
Now that you know how to serve and store your Matilda-inspired chocolate masterpiece, let’s address some frequently asked questions about this delightful dessert.
FAQ
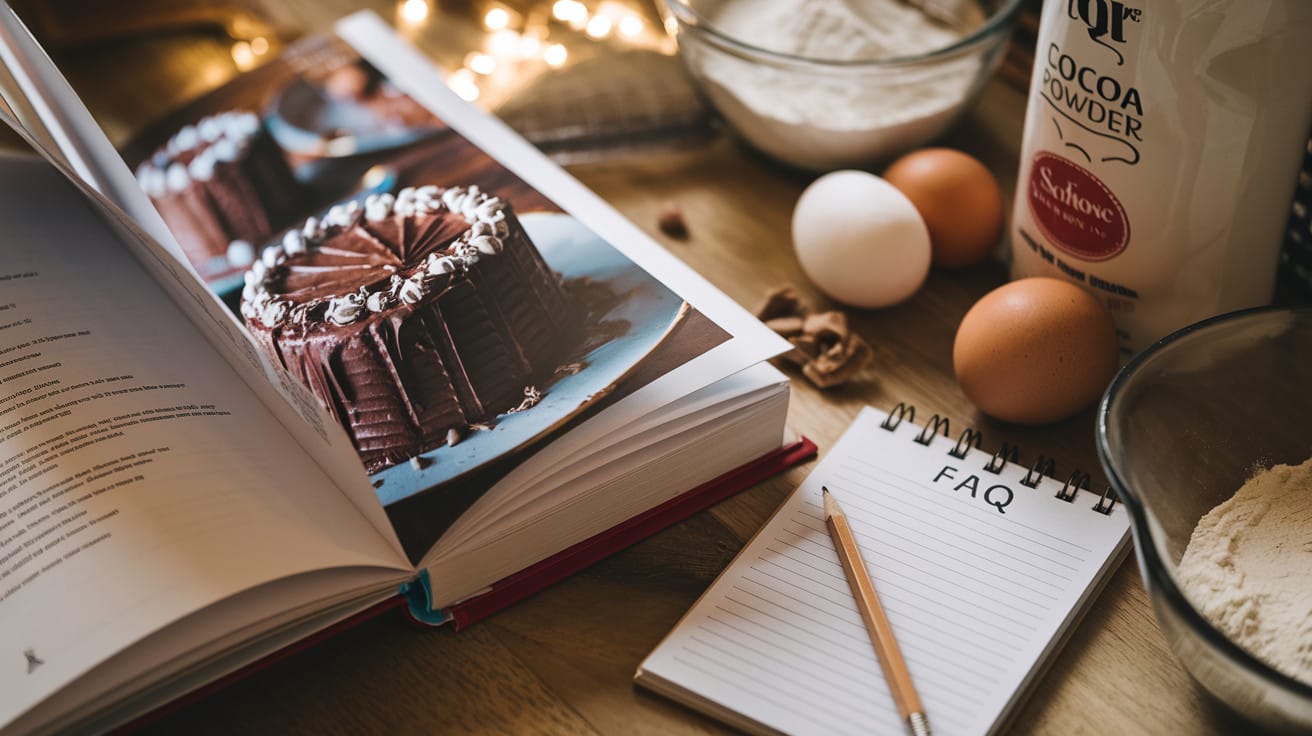
Can I use a different type of chocolate for the cake?
While the original Matilda cake recipe calls for cocoa powder, you can experiment with different types of chocolate. Here’s a comparison:
| Chocolate Type | Flavor Profile | Texture Impact |
|---|---|---|
| Cocoa Powder | Intense, rich | Light, fluffy |
| Dark Chocolate | Deep, complex | Dense, fudgy |
| Milk Chocolate | Sweet, creamy | Moist, tender |
I recommend sticking to cocoa powder for authenticity, but dark chocolate can create a decadent variation.
How long can I store the Matilda cake?
The Matilda cake can be stored for several days if properly wrapped. Here are my storage tips:
- Room temperature: 2-3 days
- Refrigerated: 5-7 days
- Frozen: Up to 3 months
Always ensure the cake is completely cool before storing and use plastic wrap or an airtight container to maintain freshness.
Can I make this cake gluten-free?
Yes, you can adapt the Matilda cake recipe to be gluten-free. I suggest using a 1:1 gluten-free flour blend designed for baking. Keep in mind that the texture might be slightly different, but the chocolate flavor will still shine through. Now, let’s address some common concerns about serving and enjoying your chocolate delight.
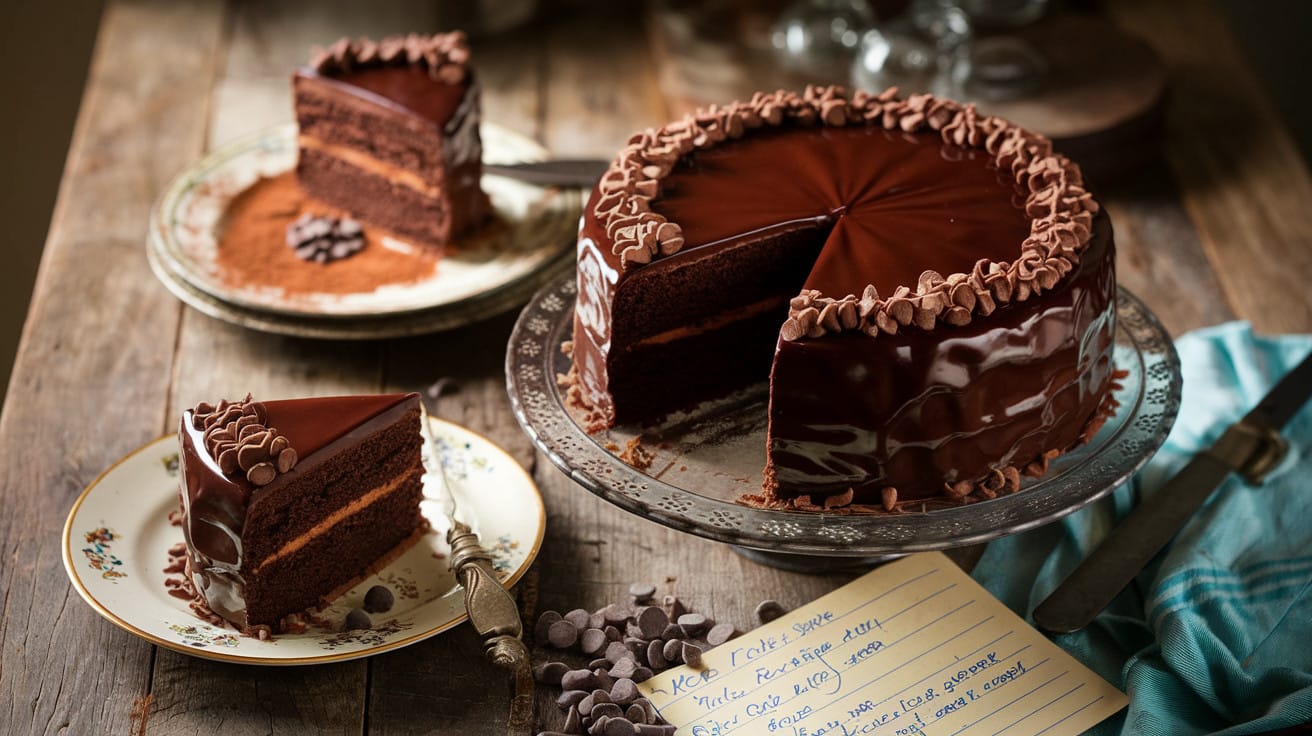
Creating the ultimate Matilda-inspired chocolate cake is truly a magical experience. From perfecting the moist, rich cake base to crafting the irresistible frosting, every step brings you closer to Bruce Bogtrotter’s legendary dessert. I’ve walked you through the process of assembling this chocolate masterpiece and shared tips on how to serve and enjoy it to the fullest.
Remember, baking is an art form that requires practice and patience. Don’t be discouraged if your first attempt isn’t perfect – each try will bring you closer to chocolate cake perfection. So, channel your inner Miss Trunchbull (minus the meanness) and challenge yourself to create this delectable treat. Who knows? You might just discover your own superpowers in the kitchen, just like Matilda did with her telekinesis. Now, go forth and bake your way to chocolate cake glory!
Food lovers and pastry enthusiasts, don’t stop here!
Dive into my collection of decadent recipes in the “My Sweet Delights” section. Each recipe is a new culinary adventure that will take you far beyond your usual kitchen creations. From cakes to sophisticated desserts, there’s something for every taste and skill level.
👉 Looking for more sweet inspirations? Click here to explore my recipes.
Let your sweet curiosity guide you and get ready for moments of pure sugary bliss!
Rate this recipe and share your results!
There are no reviews yet. Be the first one to write one.

